How to Combine Photography and Motion Design for Stunning Visual Effects

Bringing together photography and motion design opens up a realm of creative possibilities, allowing artists and marketers to produce visually captivating content that engages viewers on multiple levels. The integration of these two mediums can enhance storytelling, create dynamic visuals, and evoke emotions that static images alone cannot achieve. Whether you’re a seasoned professional or a budding enthusiast, learning how to blend photography with motion design can elevate your projects. Here’s a guide on how to effectively combine these art forms for stunning visual effects. Understanding the Basics Before diving into the technical aspects, it’s essential to grasp the fundamentals of both photography and motion design. Photography captures moments in time, freezing them for viewers to interpret and appreciate. On the other hand, motion design adds movement and dynamic elements to visuals, transforming the static into the animated. Understanding how these two mediums complement each other is the first step toward creating compelling content. Choosing the Right Photography The success of your motion design largely hinges on the quality of the photographs you choose. Start by selecting high-resolution images that possess a strong composition and engaging subject matter. Photographs that tell a story or evoke emotion will resonate more deeply with your audience. Consider the mood and theme of your project. If you aim to convey a sense of adventure, opt for images that reflect that vibe, such as landscapes, action shots, or candid moments. For a more corporate feel, clean, professional images work best. Always keep in mind how the chosen photography will fit within the motion design context and contribute to the overall narrative. Incorporating Motion Elements Once you have your photographs, the next step is to think about how to incorporate motion. There are several techniques you can use to achieve stunning visual effects: Parallax Effect: This technique creates depth by moving different layers of an image at varying speeds. For instance, foreground elements can move faster than background elements, resulting in a 3D-like experience. This effect can make your images feel alive and immersive. Animated Overlays: Adding animated graphics, such as text, shapes, or illustrations, can enhance the storytelling aspect of your photography. Think about how these elements can complement your images. For example, subtle animations can emphasize key messages or create a sense of rhythm that draws viewers in. Video Integration: Consider combining still images with video footage. A video loop can serve as a background while your photographs take center stage. This technique works well for website headers or social media content, providing an engaging, multimedia experience. Dynamic Transitions: Use creative transitions to move between photographs or elements. Instead of a simple cut, consider techniques like fades, wipes, or slides that maintain the visual interest. These transitions can add a sense of flow and continuity to your motion design. Tools and Software Several tools can help you blend photography and motion design effectively. Adobe After Effects is a popular choice for motion graphics, offering a wide range of features for animating photos and creating dynamic effects. Other software options like Final Cut Pro, Premiere Pro, and even online platforms like Canva provide user-friendly interfaces for adding motion to still images. For photo editing, tools like Adobe Photoshop or Lightroom can enhance your images before integrating them into motion design projects. Properly edited and color-corrected photographs will create a cohesive visual aesthetic when combined with motion elements. Focusing on Storytelling Regardless of the techniques you employ, storytelling should be at the forefront of your creative process. Think about the narrative you want to convey through the combination of photography and motion design. Whether you’re promoting a product, sharing a personal story, or creating a piece of art, every visual element should serve to enhance the narrative. Consider the pacing and flow of your project. The movement should feel natural and guide the viewer through the story. Use rhythm and timing to create moments of tension or relief, depending on the emotions you wish to evoke. An engaging story will captivate your audience and encourage them to share your content. Final Touches Once you’ve combined photography and motion design, take the time to review your work. Look for areas that might need refinement, such as adjusting the timing of animations or improving the color palette. Seek feedback from peers or mentors to gain fresh perspectives on your project. Export your final piece in high quality to ensure that all visual elements shine through. Remember to optimize your content for the platforms where it will be shared, whether that’s social media, websites, or presentations. Conclusion Combining photography and motion design can create stunning visual effects that captivate and engage your audience. By understanding the fundamentals, selecting high-quality images, incorporating dynamic motion elements, and focusing on storytelling, you can elevate your creative projects to new heights. As you experiment with different techniques and tools, allow your imagination to guide you, and watch as your visuals come to life in exciting new ways. Embrace the possibilities that this blend of art forms offers, and let your creativity flourish!
Top 5 Tools for Combining Photography and Motion Design

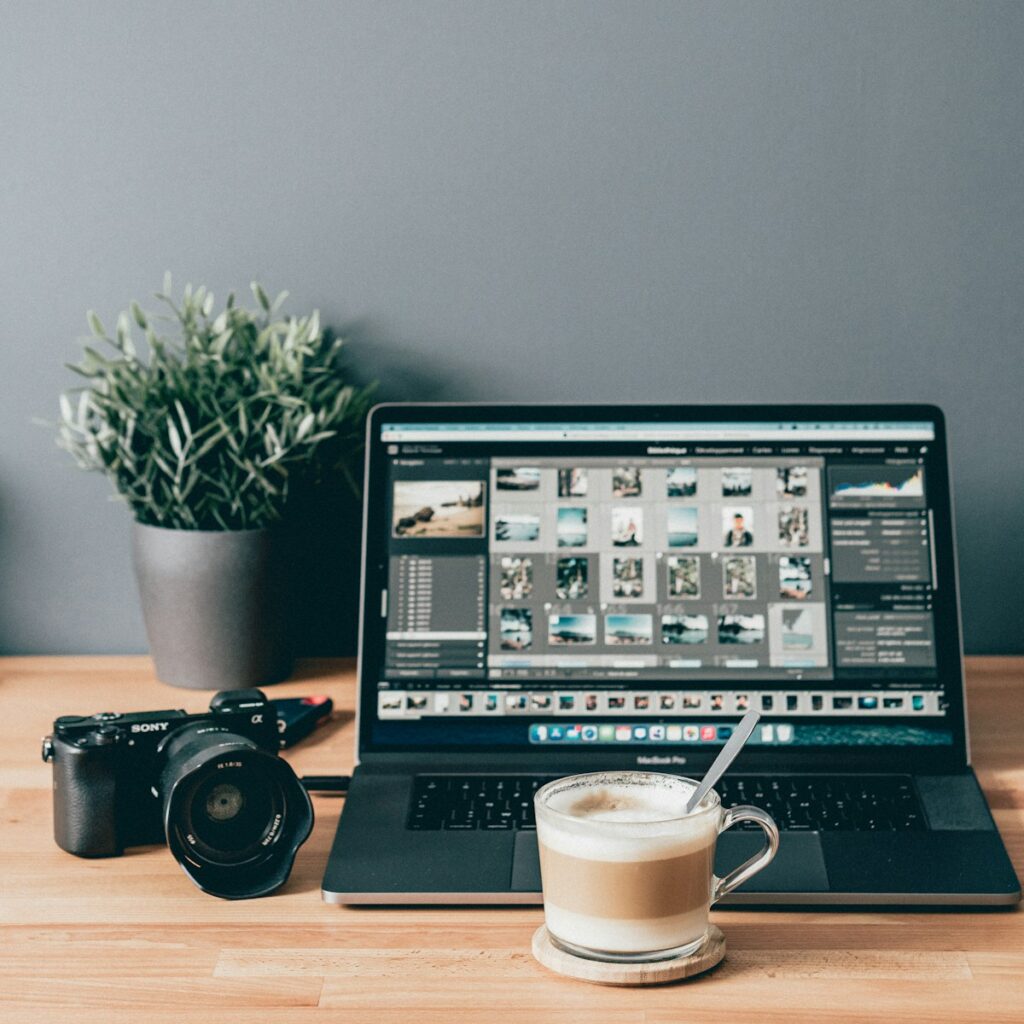
Combining photography and motion design can create stunning visual content that captivates audiences and elevates your creative projects. Whether you’re a professional designer or an enthusiastic hobbyist, using the right tools can make a significant difference in the quality and impact of your work. Here are the top five tools for combining photography and motion design that can help you achieve impressive results. 1. Adobe After Effects Adobe After Effects is a powerhouse for motion design and animation. It’s widely used in the industry for creating complex visual effects, animations, and motion graphics. Why It’s Essential: Versatile Animation Capabilities: After Effects allows you to animate virtually anything, making it perfect for bringing static photographs to life with motion. Extensive Integration: Seamlessly integrates with other Adobe Creative Cloud apps like Photoshop and Illustrator, allowing for a smooth workflow. Powerful Plugins: Access a vast array of plugins and scripts that extend the functionality of After Effects, enabling more creative possibilities. Key Features: Keyframe Animation: Animate properties over time to create dynamic effects. 3D Camera Tracking: Integrate 3D elements into your 2D footage to create immersive scenes. Expressions: Use JavaScript-based expressions to automate and enhance your animations. 2. Adobe Photoshop Adobe Photoshop is a must-have tool for photographers and designers. It’s not just for photo editing; Photoshop also offers robust features for creating motion designs. Why It’s Essential: Comprehensive Editing Tools: Enhance your photos with advanced editing tools before adding motion. Frame Animation: Create simple frame-by-frame animations directly within Photoshop. Integration with After Effects: Easily import Photoshop files into After Effects to continue working on your motion designs. Key Features: Layer Styles: Apply effects like shadows, glows, and bevels to create depth in your images. Timeline Panel: Use the timeline panel to create animations by converting layers into frames. Smart Objects: Maintain high quality and flexibility when resizing or transforming images. 3. Cinema 4D Cinema 4D is a professional 3D modeling, animation, and rendering software. It’s particularly useful for adding 3D elements to your photographic compositions. Why It’s Essential: Advanced 3D Capabilities: Create realistic 3D models and animations to complement your photography. Motion Graphics Tools: Utilize MoGraph, a powerful set of tools for motion graphics, to create complex animations with ease. Seamless Integration: Works well with After Effects, allowing for a smooth workflow between 2D and 3D projects. Key Features: Modeling Tools: Build intricate 3D models from scratch or import from other software. Rendering Engine: Produce high-quality renders with advanced lighting and texturing options. Animation Tools: Animate objects, cameras, and lights to create dynamic scenes. 4. Blender Blender is a free, open-source 3D creation suite that offers a range of tools for modeling, animation, rendering, and compositing. Why It’s Essential: Cost-Effective: As an open-source tool, Blender is free to use, making it accessible for all creatives. Comprehensive Features: Includes everything from modeling and sculpting to animation and video editing. Strong Community Support: A large community of users and developers provides extensive tutorials and resources. Key Features: Grease Pencil: Draw and animate 2D elements within a 3D environment. Cycles Render Engine: Create realistic renders with advanced lighting and shading. Compositing Tools: Combine multiple elements and effects into a final composition. 5. Procreate Procreate is a powerful digital illustration app for iPad that supports both drawing and animation. It’s particularly useful for creating motion designs on the go. Why It’s Essential: Portable Creativity: Work on your projects anywhere with the convenience of an iPad. Intuitive Interface: Easy-to-use tools and gestures make it accessible for beginners and professionals alike. Animation Assist: A built-in feature for creating frame-by-frame animations. Key Features: Brush Library: Access a wide range of customizable brushes for different effects. Layer System: Organize your artwork with layers for more complex designs. Timelapse Recording: Automatically record your drawing process to share or review later. Conclusion Combining photography and motion design opens up a world of creative possibilities, and the right tools can make all the difference. Adobe After Effects and Photoshop offer powerful features for animation and photo editing, while Cinema 4D and Blender provide advanced 3D capabilities. Procreate adds flexibility for creating on the go. By leveraging these top tools, you can enhance your projects, captivate your audience, and bring your creative visions to life.
10 Essential Photography Tips for Capturing Stunning Motion Shots

Photography allows you to freeze time in motion in a single still image, whether a child or pet playing in the yard, a waterfall flowing in a landscape, an action sport, or anything else. Moving objects are typically captured in pictures as blurs. One of the most difficult technical aspects of photography might be capturing moving subjects. Action photography demands that you properly plan out your shot, just like outside photography does. Beyond that, you must be well familiar with your camera and related equipment. Naturally, there is also an element of luck involved, but among many action photographers, it adds to the excitement. 10 Essentials for Stunning Motion Shots 1. Focus your shots in advance Foreseeing where the action will occur when you are dealing with a moving subject at hand is critical. When it comes to obtaining the photo, you may save valuable milliseconds by pre-focusing your camera in a spot in the scene close to where you anticipate your subject to be. 2. Be able to control depth of field Keep your subjects in sharp focus while letting the backdrop fade as one technique for making your subjects stand out. Using a wider aperture is one method to get this shallow depth of field. 3. Try out some low angles In order to make your subject seem larger-than-life, go down low and close to them. 4. Capture the entire occasion While it’s necessary to be ready for specific images, it’s also crucial to keep an eye out for unforeseen opportunities to capture interesting moments. To obtain a complete view of the sporting event or activity you are photographing, move around, explore, and try out different vantage points. 5. Bursts Shots The majority of contemporary DSLRs have a burst mode, often known as continuous shooting, that enables you to press and hold the shutter button while taking a number of pictures quickly, one after the other. Nevertheless, it is often advised to keep continuous shooting of frame bursts to three or four frame. 6. Use RAW for your photography Although filming in an uncompressed file format may take up a lot of room on your memory cards, the results will be worthwhile. When editing photos in post-production, the RAW format allows you greater freedom, particularly if you wish to change the white balance. 7. Flash When taking pictures of your subject up close in a dark environment, a good flash may help produce a dramatic image that appears to stop time. 8. Motion blur For some action shots, it’s best to use this blur effect. In these scenarios, using a tripod to stabilize your camera is a must, and you should choose a slower shutter speed to accentuate the movement of your subject. 9. Panning When panning, you want to maintain (relative) sharpness on your subject while also expressing motion. When a subject is moving, you may maintain them reasonably sharp while the surrounding fades by panning your camera in the same direction. 10. Chrono Photography By shooting numerous pictures of a moving subject and presenting them side by side to convey the subject’s progress through its various stages, a technique called chrono photography enables you to capture movement.
Essential Photography Tips to Take Your Photos to the Next Level

In simple words, photography involves the whole process of capturing light with the usage of equipment such as a camera and lenses with the purpose of creating an image or video. Nowadays, photography is one of the most developed industries thanks to the fact that most modern devices come with a built-in camera which happens to be of extremely good quality (in the higher-end devices) to the point that it is possible to start a photographer career with just basic equipment. However, even if you have the ultimate setup and equipment, it will be worthless if you do not follow techniques or tips to improve your photos in order to make them look more professional and appealing to the human eye. That is why it would be wise to check multiple tips that could help you take your photos to the next level. Essential Photography Tips: Take Your Photos to a Brand New Level with Basic Recommendations Always Keep It Simple: Beginners tend to believe that an overcrowded photo is appealing when in reality it is the complete opposite. Photos should have a main focus and a balance between the environment and objects, which is why keeping it simple will add extra breathing room to the image, making it look more professional and fresh. Also, learning concepts such as positive space and negative space will prove to be useful and effective, always try to apply them to your photos. Add Depth in Images: Try to work with shapes and add depth to images in order to provide a three-dimensional feel that can benefit the photo by making the layers and lines of the environment feel more natural and realistic. However, you need to be careful, not every background will work, as there will be times when you will need to make focus on the main subject, and with a background, it might be difficult to put emphasis on that aspect. Work with Reflections and Natural Elements: Using natural elements such as water, sun rays, the sun itself and even reflections proves to be a great idea, as it adds a more professional touch to the photo. Reflections can make simple photos look appealing and unique, but it needs to be done with consideration of the human eye, work with things that are appealing, and with elements that actually add any value to the environment or subject of the image. Never Neglect the Symmetry: Most people tend to find the presence of symmetry rather satisfying, and in photography, this takes photos to the next level. Work with vertical and horizontal lines in the same proportion, symmetry can be found practically anywhere from architecture to nature, it just needs to be spotted and carefully added to the photo. For photos that are based on architecture, symmetry is always well-received by viewers as it manages to make the photo look more outstanding and notorious, but it needs to be good enough to make an impact on the viewer’s mind and eyes.

